Minio Erasure Code Quickstart Guide 
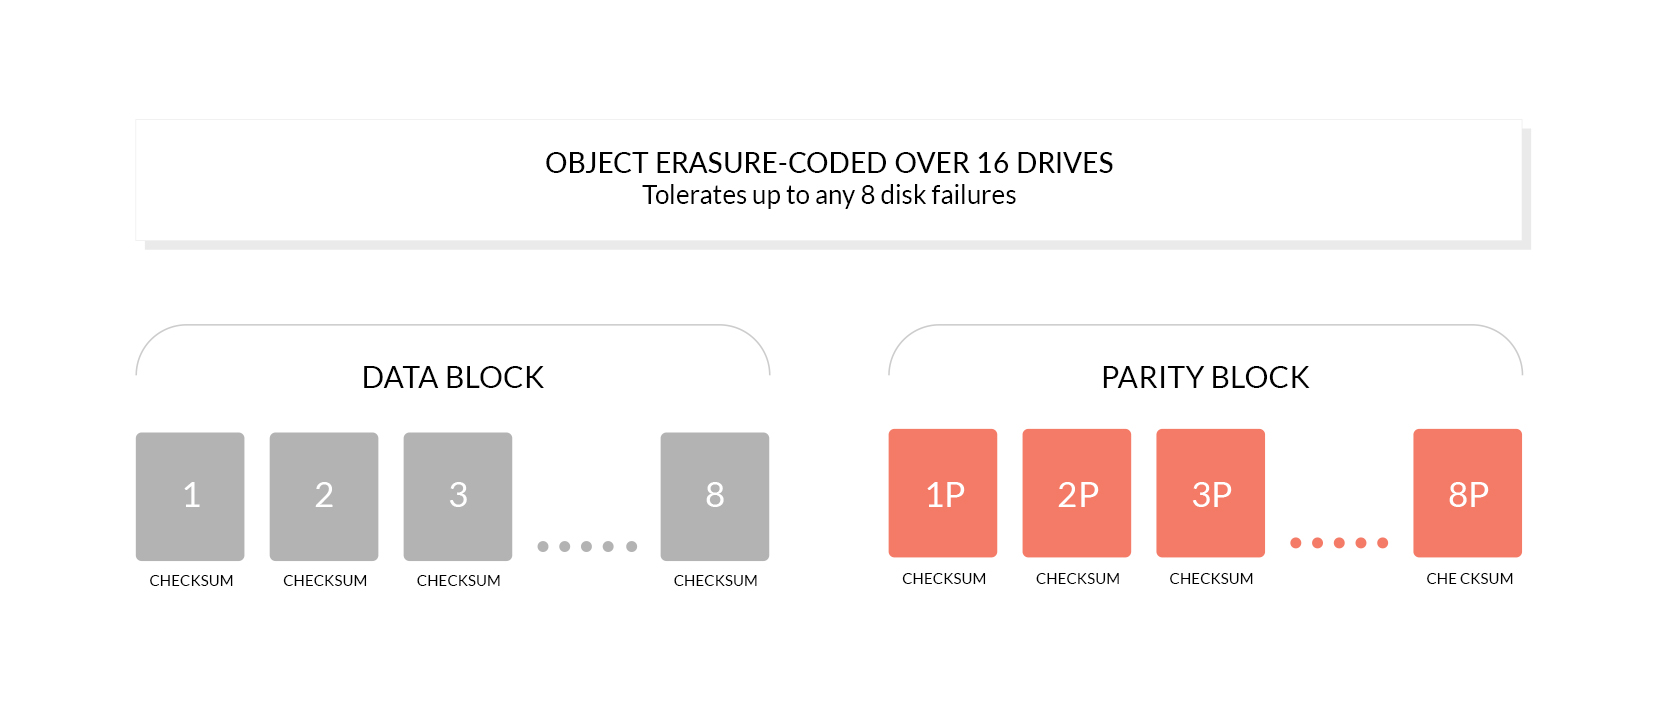
Minio protects data against hardware failures and silent data corruption using erasure code and checksums. You may lose half the number (N/2) of drives and still be able to recover the data.
What is Erasure Code?
Erasure code is a mathematical algorithm to reconstruct missing or corrupted data. Minio uses Reed-Solomon code to shard objects into N/2 data and N/2 parity blocks. This means that in a 12 drive setup, an object is sharded across as 6 data and 6 parity blocks. You can lose as many as 6 drives (be it parity or data) and still reconstruct the data reliably from the remaining drives.
Why is Erasure Code useful?
Erasure code protects data from multiple drives failure unlike RAID or replication. For eg RAID6 can protect against 2 drive failure whereas in Minio erasure code you can lose as many as half number of drives and still the data remains safe. Further Minio's erasure code is at object level and can heal one object at a time. For RAID, healing can only be performed at volume level which translates into huge down time. As Minio encodes each object individually with a high parity count. Storage servers once deployed should not require drive replacement or healing for the lifetime of the server. Minio's erasure coded backend is designed for operational efficiency and takes full advantage of hardware acceleration whenever available.
What is Bit Rot protection?
Bit Rot also known as Data Rot or Silent Data Corruption is a serious data loss issue faced by disk drives today. Data on the drive may silently get corrupted without signalling an error has occurred. This makes Bit Rot more dangerous than permanent hard drive failure.
Minio's erasure coded backend uses high speed BLAKE2 hash based checksums to protect against Bit Rot.
Get Started with Minio in Erasure Code
1. Prerequisites:
Install Minio - Minio Quickstart Guide
2. Run Minio Server with Erasure Code.
Example: Start Minio server in a 12 drives setup, using Minio binary.
minio server /data1 /data2 /data3 /data4 /data5 /data6 /data7 /data8 /data9 /data10 /data11 /data12
Example: Start Minio server in a 8 drives setup, using Minio Docker image.
docker run -p 9000:9000 --name minio \
  -v /mnt/data1:/data1 \
  -v /mnt/data2:/data2 \
  -v /mnt/data3:/data3 \
  -v /mnt/data4:/data4 \
  -v /mnt/data5:/data5 \
  -v /mnt/data6:/data6 \
  -v /mnt/data7:/data7 \
  -v /mnt/data8:/data8 \
  minio/minio server /data1 /data2 /data3 /data4 /data5 /data6 /data7 /data8
3. Test your setup
You may unplug drives randomly and continue to perform I/O on the system.
